googleads

Showing posts with label Technique. Show all posts

Thursday, 25 August 2011

Crochet Chairs

I’ve been pondering the idea of making a crochet chair recently and so thought I would do a bit of research. Here is a collection of amazing crochet chairs for inspiration.

Please, please dont eat the Daisies!
Crochet chairs
Wooden Stool & Crochet

Friday, 1 July 2011

The History of The Granny Square

Madonna Blue Granny Square Blanket Afghan


Have you ever wondered about the history of where the humble granny square? I have and do – I would also like to know where in the world it originates from. In my quest to find answers I haven’t found too many – but here are some things I did learn along the way. If you know anything else please do leave a comment.
 

Granny Square

From Wikipedia, the free encyclopedia
A granny square worked in two colors and seven rounds. Cotton, 4mm crochet hook.
A granny square is a crochet technique for producing square fabric by working in rounds from the center outward. Granny squares are traditionally handmade. They resemble coarse lace. Although there is no theoretical limit to the maximum size of a granny square, crocheters usually create multiple small squares (called "motifs") and assemble the pieces to make clothing, purses, Afghan blankets, and other household textiles.
Granny square apparel is a cyclical fashion that peaked in the 1970s. As Stitch 'n Bitch series author Debbie Stoller describes:
If you grew up in the seventies, as I did, you might fear the granny square--if only because, for a while, clothing was made of nothing else. Granny square vests, granny square shorts, granny square hats. Heck, I bet there was some kid out there who was forced to go to school wearing granny square underwear.[1]
Although particular color and pattern schemes for granny squares change with time, this class of motif is a staple among crocheters. Multicolor granny squares are an effective way to use up small amounts of yarn left over from other projects and basic granny square motifs do not require advanced skills to execute.
  Click here to read the rest of the article at Wikipedia.
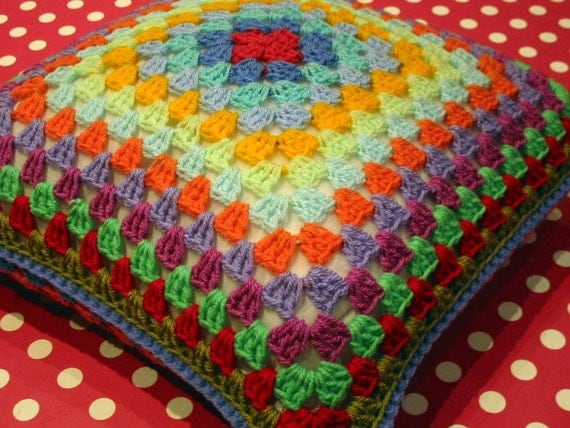
Retro Style 'Granny' Cushion Pillow Cover
 I was looking through a book I've got which is a reproduction of a number of crochet newsletters stuffed full of patterns from a company called Weldons from the mid 1800s. Right at the back, there's a pattern for "Patchwork Squares", which has a little blurb at the top describing how useful these are for using up scraps of yarn you might have, and how they're great for rugs, baby's blankets and the like. Breathless I turned the page to see if I could find an illustration and there, on the next page, was a handsome black and white engraving of... a granny square!
I'm so happy! Granny squares date back to at least Victorian times!

Click here to read more at sayraphimlothian.com

I had an email from Sayraphim a couple of days ago she said
“The book I found the info from is an English book and it's the earliest reference to the granny square I've found in print. But I found it weird that no one really has any info on it either.
I suspect people have been doing them for far longer, the same as no one really knows how long crochet has been around. The earliest references to it in books, again from Victorian England, were quite complicated published patterns which suggests that people already knew how to do the basics.”
So does the humble granny square originate from Europe? It would be great to hear what any of you may know about the history of the granny square.
 
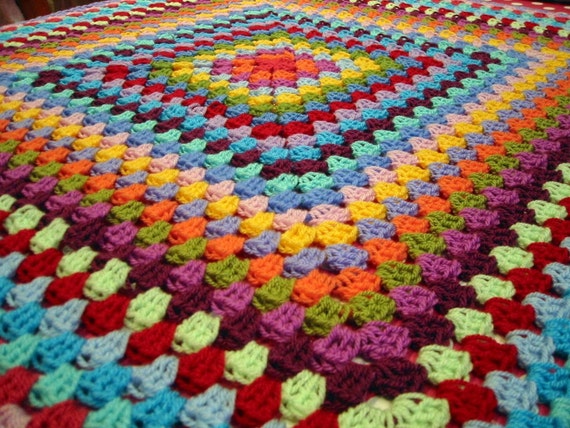
 Gorgeous Vibrant Rainbow Granny Square Blanket FREE POSTAGE
Granny Squares are a crocheter's passport to 1970s boho-chic!
It turns out that making granny squares can be a little addictive. They're fast and fun to crochet -- so the squares start to pile up quickly. There are endless color and yarn weight combinations -- so they can be simple or complex, and can incorporate easy or challenging color combinations. And crocheting is very portable -- so it's easy to throw a project in a bag and head out the door.
Tonight, I'm meeting a crafting buddy at a coffeehouse for some public crocheting. It's a good way to spend a Friday night if you've retired from your disco days. I have, but now that I've rediscovered granny squares, I'm making all kinds of cool stuff for people to wear if they're looking for a touch of 70s bohemian. My current project is a shrug that utilizes space-dyed yarn to create color changes in your squares without switching yarns. The blocks are really gorgeous and I'll post a photo of the completed shrug shortly.
  Source - Denver Library click here to read more.
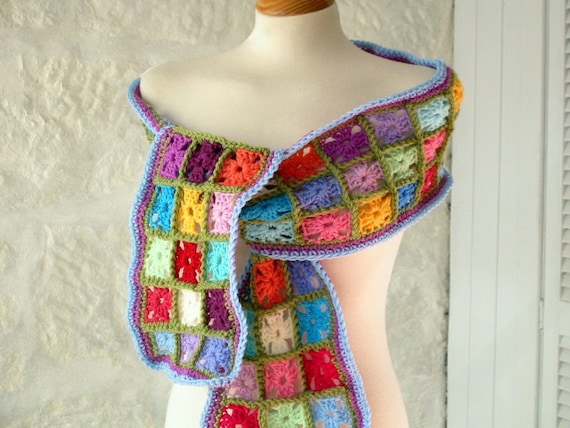
Multicoloured Magic Granny Square Scarf Wrap

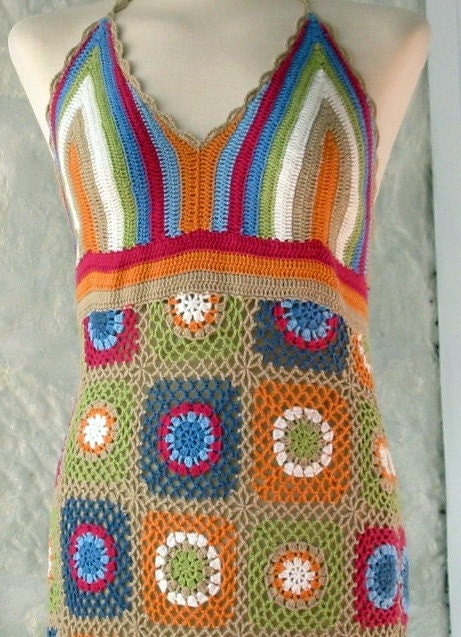
Granny Square Cotton Halterneck Dress

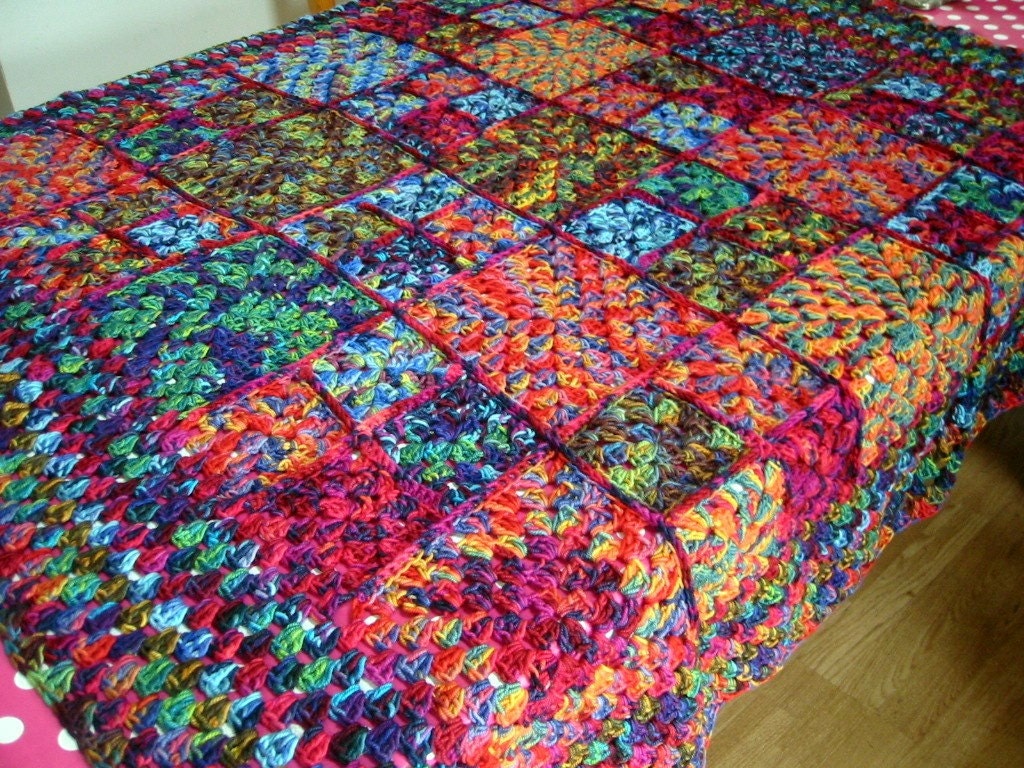
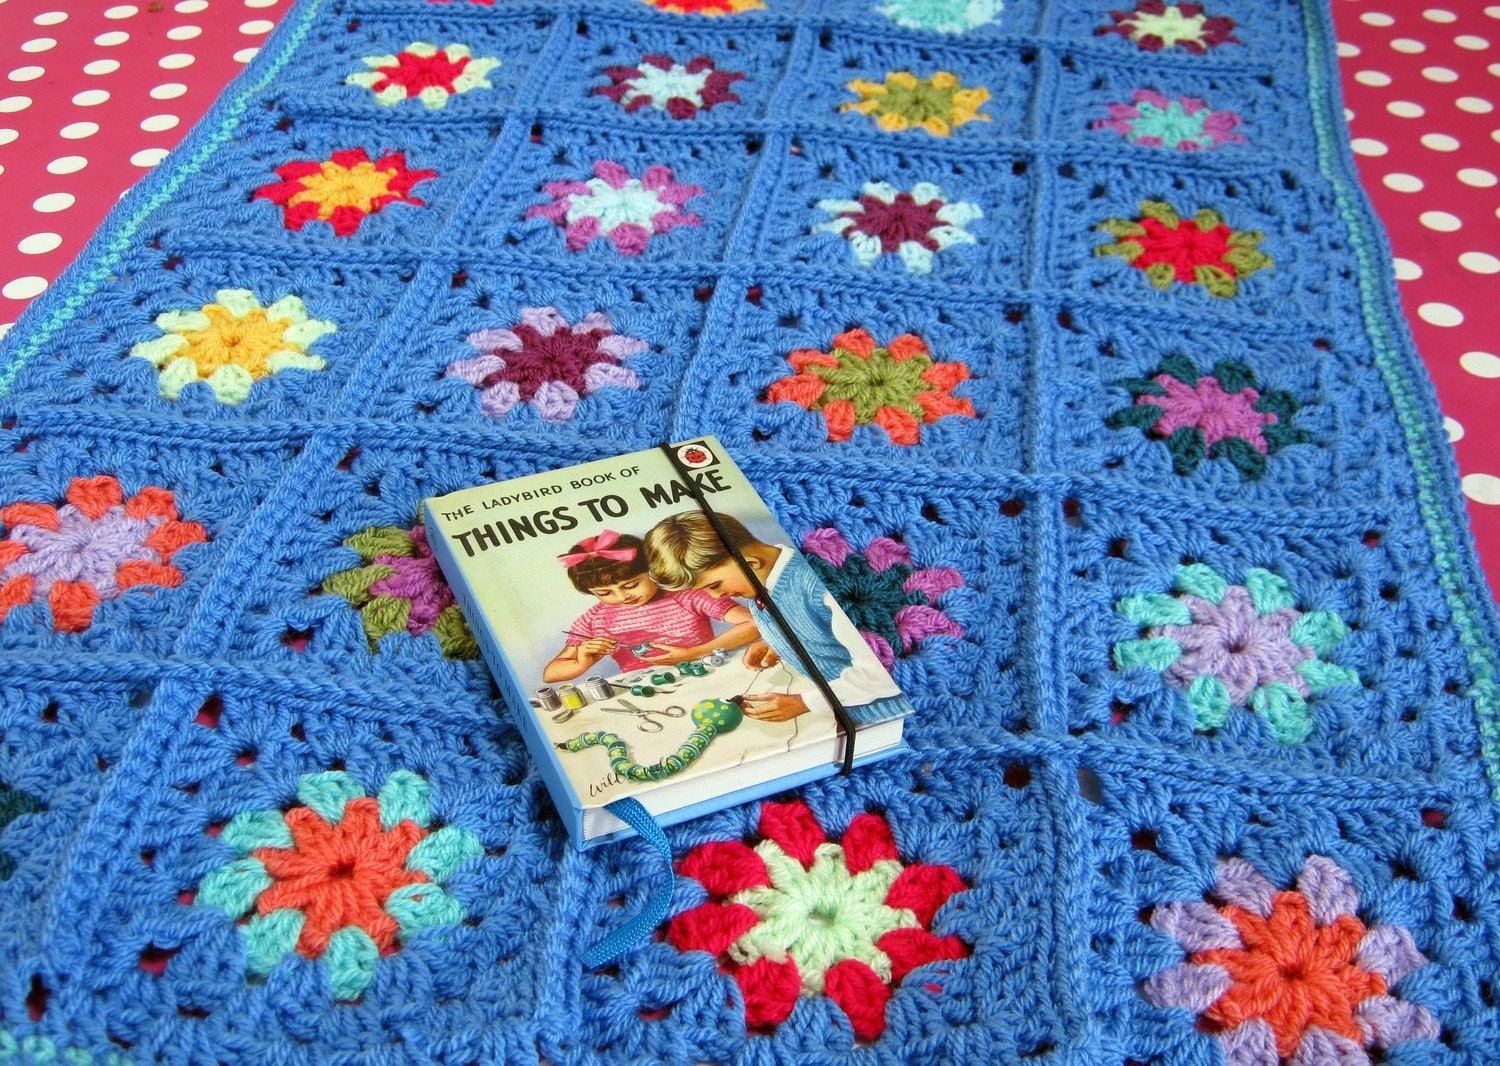
Mirasol Magic Granny Square Blanket

Friday, 10 June 2011

How to Crochet Granny Squares Together

How to crochet granny squares together.

I have recently been asked how to crochet granny squares together and
so an impromptu tutorial. The concept seems much more difficult than the
actual process is. The important things to remember are.

Lay your squares out exactly as the pattern states or as you wish them to
be crocheted together.

Always keep your squares right side facing.

I always work from right to left.

I always crochet together all horizontal rows first and then vertical rows
second.

I always work from the bottom right hand corner and row progressing up
the way, 1 row at a time.
Abbreviations used:
ch – chain
sp – space
sc – single crochet USA, dc –UK


1. Lay out all your granny squares in the exact order that you
want to crochet them together.


2. Make sure that all squares are right side up.


3. Take the first 2 squares from the right hand side of your
arrangement. Place one on top of the other but with both right
sides on the outside.


4. Fasten the yarn in the corner chain tying both squares
together.


5. Hook your yarn and pull through both squares. Chain 1 and
hold the squares in one hand with the backs together. Insert
your hook into the same stitch again. Hook your yarn again and
pull through making 1 single crochet.


6. Continue crocheting the squares together using sc across the
edges of both granny squares into the corner chain at the left.


7. Now get the next 2 granny squares that need to be crocheted
together, again with right sides facing out the way.


8. Work the exact same process as the first 2 squares to be
crocheted together. Insert hook into corner ch of the squares and
begin to work in sc all across.


9. Be sure to leave tails of yarn long enough for ends to be sewn
in.


10. Once you have completed your vertical rows lay the squares
out and then fold in the opposite horizontal direction and begin
the same process again. Always working from the right side to the
left.


11. Crochet across until you reach the corner of the first square,
here you crochet through both corner ch spaces and again into
the next squares ch space. Then proceed to work in sc across the
square.
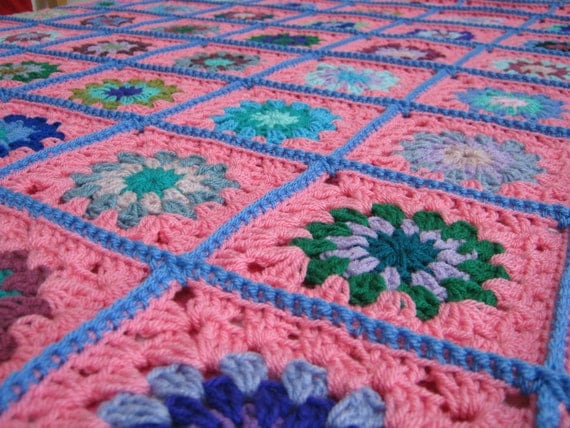
Powder Pink Large Granny Square Crochet Blanket Afghan Vintage Style 60 x 60


Tuesday, 31 May 2011

Learn to Crochet with Patons

Single Crochet (sc)


1 Insert the hook into the work (2nd chain (ch) from hook on starting chain), *yarn over hook (yoh) and draw yarn through the work only.
2 Yarn over hook (yoh) again and draw the yarn through both loops on the hook.
3 1 single crochet (sc) made. Insert hook into next stitch: repeat (rep) from * in step 1.
Half Double Crochet (hdc)


1 Yarn over hook (yoh) and insert the hook into the work (3rd chain (ch) from hook on starting chain).
2 *Yarn over hook (yoh) and draw through the work only.


3 Yarn over hook (yoh) again and draw through all three loops on the hook.
4 1 hdc made. Yarn over hook (yoh), insert hook into next stitch (st); repeat (rep) from step 2.
Double Crochet (dc)


1 Yarn over hook (yoh) and insert the hook into the work (4th chain from hook on starting chain).
2 *Yarn over hook (yoh) and draw through the work only.
3 Yarn over hook (yoh) and draw through the first two loops only.


4 Yarn over hook (yoh) and draw through the last two loops on the hook.
5 1 dc made. Yarn over hook (yoh), insert hook into next stitch (st), repeat (rep) from step 2.

Wednesday, 19 May 2010

Weaving 2 Complete

191-9125_IMG
191-9126_IMG
Here is another weaving I recently completed. It would be great as a table runner or a wall hanging. It came out really thick about an inch thick. Measures approx 10” x 24” 100% recycled fabrics.

Friday, 9 April 2010

Circular Crochet Rag Rug – Instructions

175-7582_IMG
Circular Crochet Rag Rug Tutorial

This pattern is for a circular rag rug to illustrate the process of crocheting a rag rug in the round. Once you understand this concept you can then choose a variety of patterns to work with - ovals, squares, rectangles or even a hexagon.
A rag rug crochets up fairly quickly but the time consuming aspect is in the preparation. You will need to gather a variety of fabrics to cut and turn into your yarn. Think about the properties of any particular fabric you choose - is it stretchy, flexible, coarse, closely woven. Is it likely to fray? Although most fabrics do initially shed some fibres some materials are worse than others.
You will need a fairly large hook I always use 10mm but anything between 10mm and 15mm would be suitable. I find a 15mm hook a tad unwieldy in the hand.
Your next job is going to be to cut the yarn into strips with as few joins as possible. To avoid too many knots cut in a zigzag style from side to side or cut from out edge in a spiral manner to the centre. The fabric should be approximately 2cms wide or 1”. This measurement is not cast in stone and there will be slight variations in the width which is a natural property of any handmade crocheted rag rug. Roll the yarn into balls. It is difficult to estimate the amount of fabric required but I always find it is more than you might initially anticipate. If you prepare approx 5 different colours/patterns to begin with you should then be able to estimate how much more is required to complete the project.
If you are not used to using your hands intensively you may end up with aching hands during the cutting up stage - I think in my eagerness I even ended up with a blister or two. It is worth preparing the yarn in advance as it can become frustrating to have to stop crocheting to do more cutting up. It will also take a while to get used to working with such a large hook and fabric as it it is a very different experience to crocheting with yarn.
As you become more familiar with the process you will learn to assess which fabrics work best for you and your design. You will also learn when you need to make additional increases etc to stop the rug curling. The structure of a crocheted rag rug is synergistic each separate stitch is dependant upon all other stitches and the properties of the fabrics used.
175-7583_IMG1. Chain 3
 175-7585_IMG
2. Join the ring with a sl st, ch 1 and then sc x 5 into the ring, join the circle with a sl st.
175-7588_IMG
3. ch 1, (It may be useful at this stage to start marking the beginning of your round with a safety pin). sc x2 into each st,then join with a sl st.
175-7589_IMG 4. ch 1, *sc twice into next st, sc 1 in next st* ** rep to end, join with sl st.
175-7592_IMG
5. ch 1, *sc twice into next st, sc 1 in next st* ** rep to end, join with sl st.
175-7593_IMG
6. Now begin working in the round (no more ch at beg of row and no more sl st) *sc twice into next st, sc 1 in next st* ** rep to end.
175-7594_IMG7. Continue to use pin to mark your rounds. 1 sc into each st. 
175-7596_IMG
8. 1 sc into next 3 st, sc x2 into next st and every 4th st to end of round.
 176-7602_IMG
9. 1 sc into next 4 st, sc x2 into next st and every 5th st to end of round.
176-7603_IMG
10. Complete 1 round 1 sc in each st to end.
11. sc x 2 into 1 st, sc for next 3 st, sc next st and every 4th st to end of round.
12. Complete 1 round 1 sc in each st to end.
13. sc x 2 into 1 st, sc for next 3 st, sc next st and every 4th st to end of round.
14. Complete 1 round 1 sc in each st to end.
Continue with these rounds (13 & 14) until work measures required diameter.
At this point my rug measures 19” diameter.
176-7605_IMG
You can keep going here for as long as you like – but be warned they can become difficult to work with after a 4-5ft diameter.
170-7010_IMGHere is one of my earlier rugs and this reached approx 6ft.
Note: If your rug begins to wrinkle you are increasing too often – reduce amount of increase for 1 round.
If your rug begins to curl upwards, like a bowl you are not increasing enough. 
Happy Rug Making.

Wednesday, 24 March 2010

First Lessons in Crochet – Circa 1907

scan0011
Oooh I must be the luckiest girl I know a lovely lady has just given me this bound copy of a book called first lessons. The actual book contains 6 different copies of the Needlecraft Practical Journal.
Contents:
No 1. Crochet
No 2. Knitting
No 3. Plain Sewing
No 4. Darning and mending
No 5. Embroidery
No 6. Drawn Thread
This absolute gem is a real delight and pleasure to own. All of these ‘lessons’ were out of print at the time the book was bound and published and so I believe it to be extremely rare. I have done quite a bit of research and can find no reference to this 1st edition book nor any of the individual content chapters each of which would originally have been published as individual journals in 1906.
The book was originally written and published by the Manchester School of Embroidery, copies of some of the later Needlecraft Journals can be purchased on the internet but they appear to be years later.
If anyone knows anymore I would be delighted to hear your comments.
Sandra Thank You for letting me have this book.   

Wednesday, 10 February 2010

Pumpkin Trellis Shoulder Wrap

 
186-8635_IMG
This shawl is worked in a basic trellis pattern. Shaping is created through beginning each row with 7ch and then 1 dc into 4th ch.
Materials:
50g pumpkin DK yarn, 6.5mm hook


Pattern:
Ch 100 + 7 (counts as first trellis)
Row 1: dc into 8th chain from hook, *ch 7, sk 4 ch, dc into next ch*, ** rep to end.
Rows 2 - 13: *ch 7, dc into 4th ch from previous row*, **rep to end.
Note: Rows 2-13 are worked identically.
To Finish: darn all ends in.
Edging: this wrap doesn’t require an edging and you could apply any that you wish but here I worked as follows.
Row 1: *work 1 dc into 1st ch, sl st next ch*, ** rep to end.

This pattern is offered and made available for personal use only. If you wish to reproduce this in any way please contact me or make sure that reference is made to the original author’s blog http://www.goodtimesithinkso.blogspot.com/ Thank you Crochet Conversion Chart US/UK International Yarn Weight Conversion Chart
I hope you enjoy using this pattern and if you are looking for other free patterns please visit Crochet Pattern Central

Thursday, 4 February 2010

Hyperbolic Valentine Red Roses

183-8360_IMG 
You can use any type of yarn with a suitable hook size. Here I have used a small quantity of red DK yarn (wool & Acrylic blend) and a 4mm hook.
Pattern:
Ch 4, join with a sl st to form a circle.
Rnd 1: make 5 sc into the circle and join with a sl st.
Rnd 2: ch 1, work two sc into each st
Rind 3: (work all subsequent rnds in the round i.e. do not join with a sl st and do not ch at the beginning of a round) 
work two sc into each existing st.
Here I completed 5 rounds and fastened off. If you want a larger flower work more rounds.
 183-8363_IMG
 183-8366_IMG
This pattern is offered and made available for personal use only. If you wish to reproduce this in any way please contact me or make sure that reference is made to the original author’s blog http://www.goodtimesithinkso.blogspot.com/ Thank you Crochet Conversion Chart US/UK International Yarn Weight Conversion Chart
I hope you enjoy using this pattern and if you are looking for other free patterns please visit Crochet Pattern Central